Sunday 21 March 2021

Sparkly Tilly and the Buttons Freya Top


Despite having made countless Tilly and the Buttons Freya tops, it's still a pattern that I turn to again and again. Not only is it perfect to hack, the original version with a mock neck can be made to look completely different depending on the length and fabric choice. As soon as I saw this fabric from Minerva I knew that I wanted to make a cropped turtleneck top from it. It was exactly the kind of fabric I've seen RTW tops made from and my sister even has a turtleneck top made out of a lurex rib like this one. Most of the time I use RTW clothes to inspire my sewing, but sometimes I want to make something exactly as I've seen it so when the right fabric comes along the plan falls perfectly into place.


The top that I wanted to recreate was a fairly simple cropped turtleneck neck which seemed like a great way to show off an interesting fabric like this one. I like that it isn't too bright, for me having a sparkly fabric which was also brightly coloured would feel a bit much to wear but having a black lurex fabric like this one is perfect. It means that I can wear the top not just as a going out top but also as something that can be dressed down.


One thing that I've found to be quite annoying when shortening the Freya top (or any similar pattern) is that the side seams flare out slightly at the hem. It's because the pattern side seams are designed to be curved not straight, and I often forget about it until after I've sewn the hem. I regret not doing this on my most recent Freya, so for this top I straightened the edges of the pattern pieces  before sewing the side seams so that the hem lies completely flat. I also made sure that the hem was 1" deep which is a must on stretch fabrics to avoid it turning up.


I've made turtleneck tops out of quite a few different jersey fabrics with varying degrees of stretch but using a rib tends to give the best results. My zip-neck Freya top made from a red rib fabric my favourite of all the Freyas that I've made. Ribs are great because they're so stretchy, but they also bounce back into shape really well meaning that the neckband doesn't get stretched out. I've found this to be true when comparing two Freya tops that I made ages ago, this one is made from a really stretchy rib and is much easier to take on and off than this one. I also like that rib offers a different texture to a cotton jersey so that even if the fabric is plain the top doesn't feel boring. 


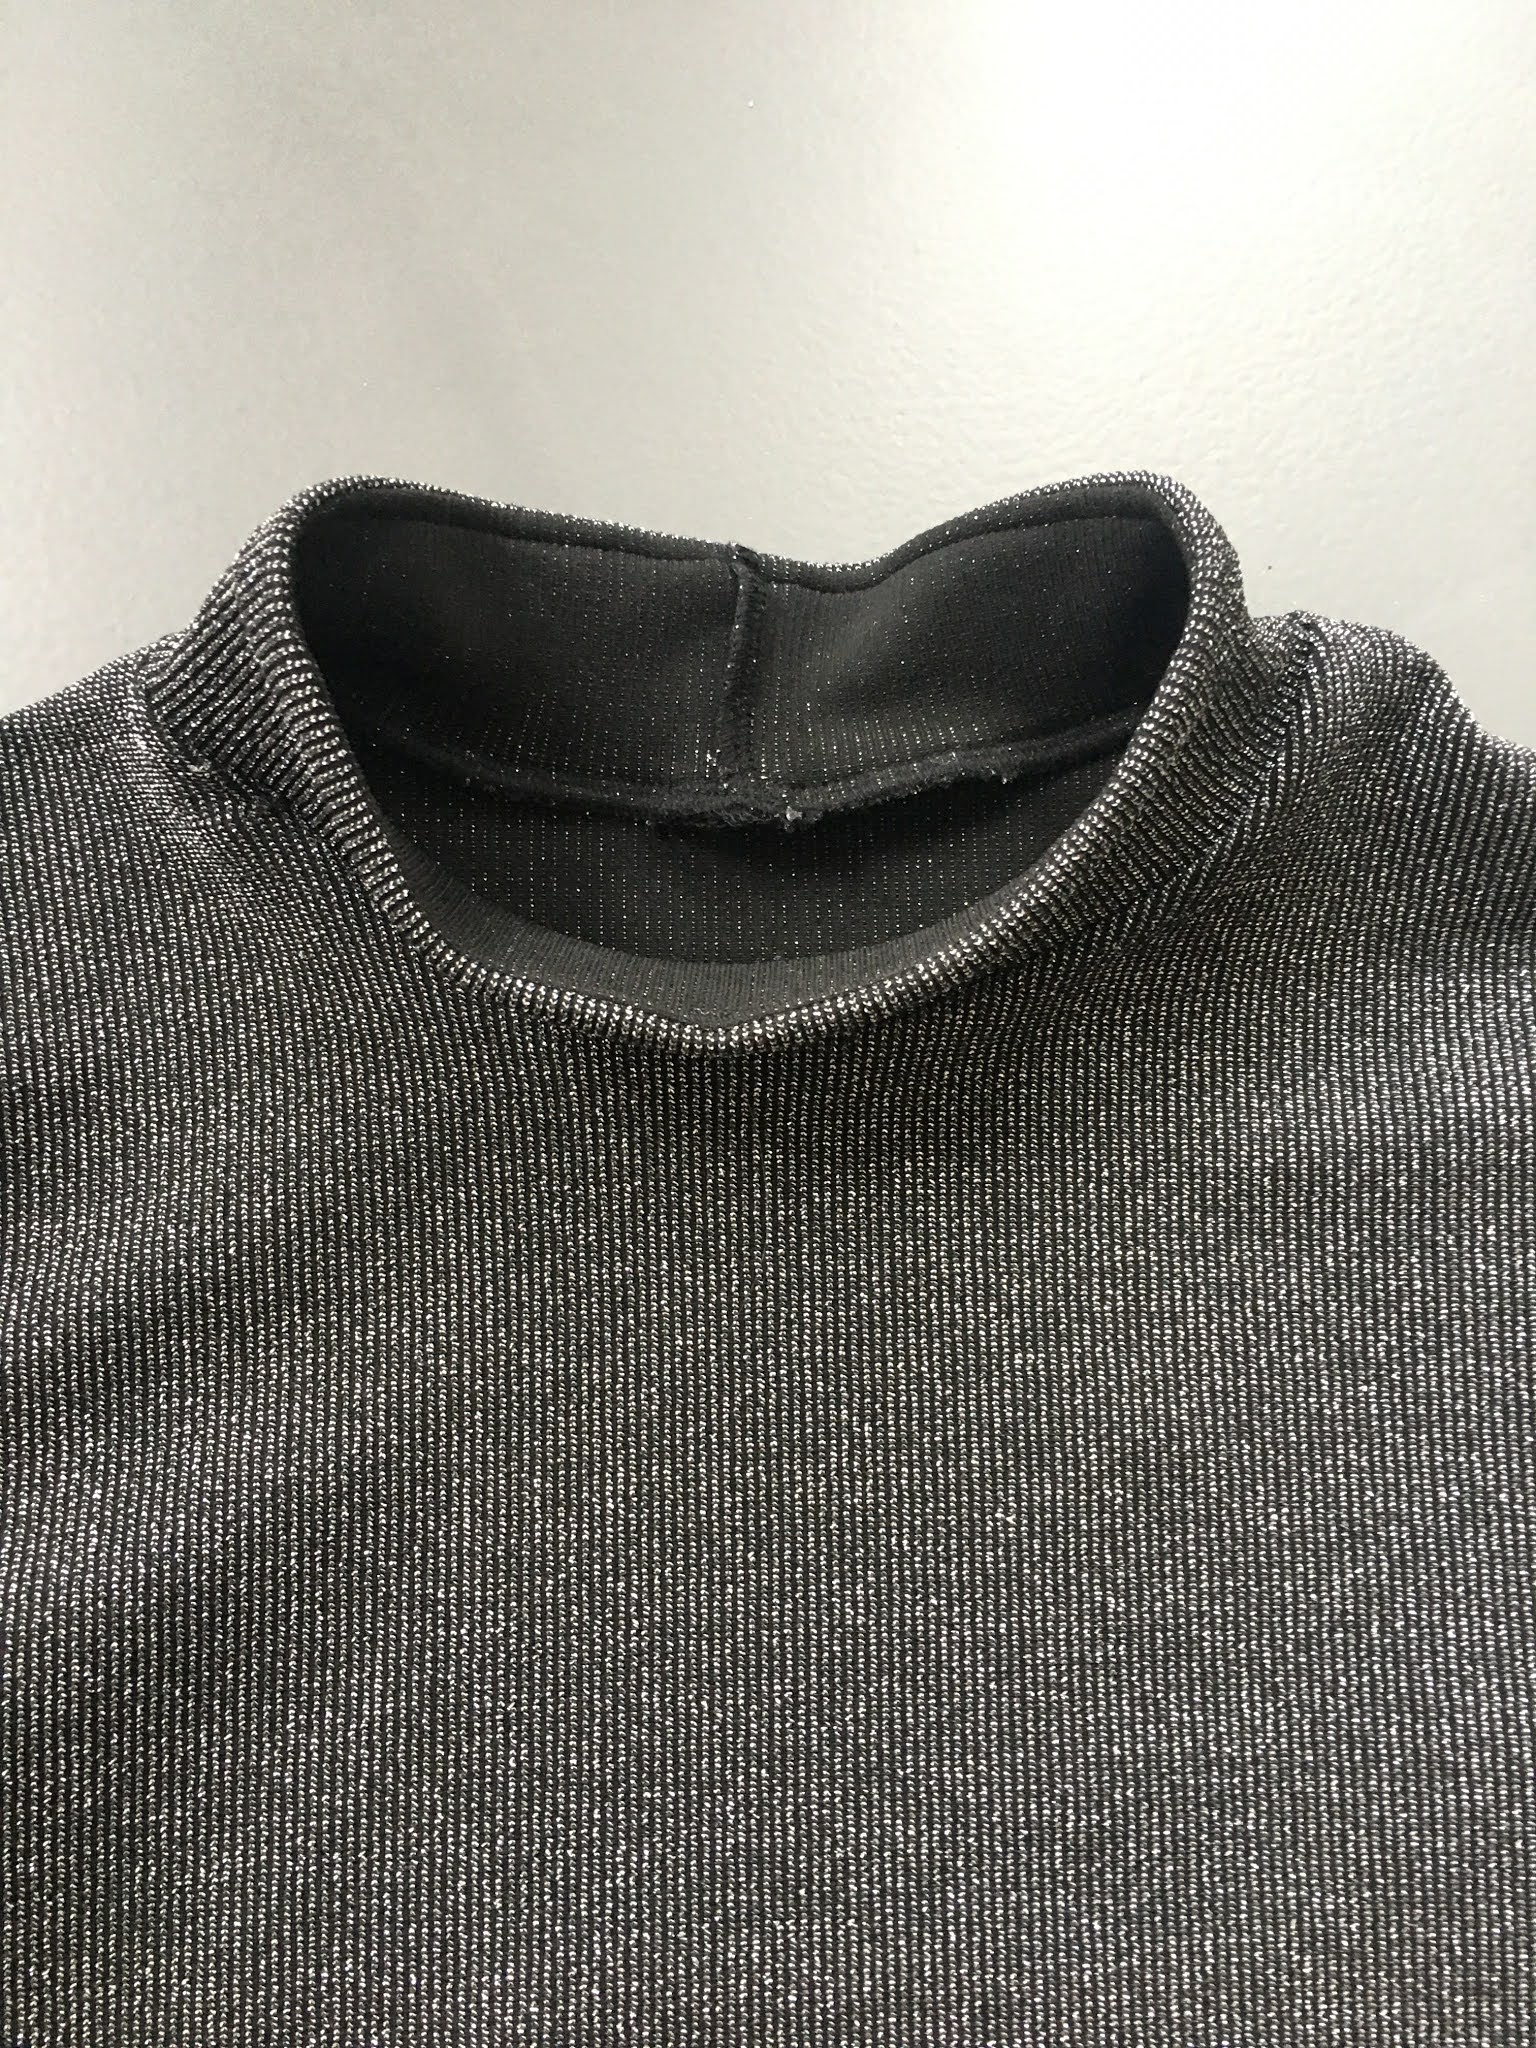
The only problem I found when it came to making this top was that the right side of the fabric is quite itchy. This isn't a problem for most of the top because its the inner fabric that I can feel (which is very soft and comfortable to wear) but it did pose an issue when it came to the neckband. The neckband of the Freya top is designed to be folded in half with the right side of the fabric on both the inside and the outside of the neckband. When I tried the top on the neck kept bothering me, so I unpicked it and resewed it so that the inner layer of the neckband has the wrong side of the fabric touching the neck. It was really simple to do, I just added in a seam around the top and cut the neckband into two pieces rather than folding it in half. I don't think you'd need to do this with a thin neckband but it was an easy adjustment to make on this top and has made a big difference.


The best part about this top is that I was able to make an improvement on the RTW version in avoiding having the right side of the fabric touching my neck. It's the kind of thing that RTW clothes wouldn't think to do, but when the clothes are homemade they can be tailored exactly to your wishes. I'm really happy with how this top turned out and have already worn it to a zoom-party! Hopefully I'll be able to wear it out in the real world at some point soon.

Saturday 13 March 2021

Handmade Sherpa-lined Corduroy Hooded Jacket


About couple of months ago I set myself a sewing challenge to make a jacket using only leftover fabrics. I wanted to see if I could use up those pieces of fabric that seem to be too small to make anything out of, while making something really nice to wear. I've already written about the step-by-step process of making this jacket, where you can see how I went about piecing tiny fabric scraps and the way in which it came together. Because I love it so much (and because it took so long to make!) I wanted to share some more photos and details of the finished jacket.

The main fabrics I used for this project was a corduroy leftover form my Dawn Jeans with sherpa that I used for my Sherpa Jacket for the lining. I love how the two fabrics go together and the sherpa also adds a cosy feel. I like the idea of having a lining fabric which is secretly the main feature, just like with my Kelly Anorak which had a contrast lining the sherpa here is visible in the hood.

I've made quite a few jackets before and they often turn out to be some of my favourite projects. My Kelly Anorak was a real turning point in my sewing skills, it was a really complex make that took a long time and I'm really proud of it. I then made a fluffy pink jacket which I love, it was so fun to make and to sew with a slightly different fabric. Most recently I made my sherpa jacket which has been one of my most worn garments ever.


I wasn't planning on making another jacket (I probably have more than I need) but as soon as I had the idea of making a corduroy jacket lined with sherpa I couldn't let it go. By challenging myself to only use fabrics that I had in my stash it didn't feel frivolous to make another jacket and also meant that I had a good sewing challenge. This jacket is a copy of a RTW one, but I drafted the lining, facing, denim panels etc myself.


If you've read the blog post about the jacket construction you'll know that the denim panels weren't intentional but rather were added when I realised that I didn't have enough corduroy fabric. In keeping with only using fabrics from my stash I found an old pair of jeans which I cut up to create a panel in the back. Denim is always a great fabric to up-cycle as the seams can be used to add design interest, which is what I did when I made this top from old pairs of jeans. For my corduroy jacket I kept the two side seams and then added a third seam down the middle to create a piece that was wide enough to span the back bodice.


When it became apparent that I'd need another fabric I was slightly concerned that it would be too busy having three fabrics with very different textures - corduroy, sherpa and denim. But I love the addition of the denim and can't imagine the jacket without it. Limited corduroy fabric meant that I had to add a denim panel to the sleeves too, in order to make it look purposeful I added a rectangle that only covered half the width of the sleeve and left the elastic channel in corduroy. You can read more about the process of doing that in the construction post.


For most of the project I was working with really tiny scraps of corduroy. Half of the hood is made from pieced-together scraps, and when I decided to add a facing I had to sew together whatever was left of the fabric. It was exactly the kind of challenge that I'd set out for, I wanted a project that would make me think when trying to find solutions rather than one that was broken into simple steps. I often vary between more complex makes like this one and simple tops that can be sewn up in an afternoon, both are projects that I enjoy depending on what else I'm doing. When it came to this jacket I had a lot of time in lockdown to sew so it was the perfect opportunity to try something a bit different, but simple t-shirts are ideal makes when sewing time is limited.


It was definitely worth adding a facing, I think it's the kind of detail that really elevates a homemade garment. I regretted not adding a facing to my pink fluffy jacket, the lining is visible when I wear it undone which bothers me a bit and doesn't happen with my sherpa jacket thanks to the facing. It probably wasn't as necessary with this jacket because the lining is one of the main features so I don't mind it being seen, but it's still a nice detail to have.


Much like the other jackets I've made, the hem on this one is finished with an elastic channel. I really like having elastic to draw the jacket in at the bottom and it also means that everything is finished off neatly inside with no raw edges showing. Finding that Prym make a circle zip pull has been one of my best discoveries in terms of finishing makes off, it's a detail that I didn't realise could be added to a handmade jacket but that I always like having on RTW ones.


Despite being unsure about adding the denim the three fabrics go so well together. Sherpa is a fabric that I've seen a lot of recently and it's so perfect for jackets. This is the sherpa that I used, I've now made two different jackets with it but it gives a very different feel when used as the lining rather than the main fabric.


I didn't want to line the sleeves in the sherpa (it would have made the jacket annoying to take on and off) but I was also keen to stick to only using fabrics from my stash. I first used this grey lining fabric on the sleeves of my Kelly Anorak and then again to line my pink fluffy jacket, so I was very pleased to find that there was enough leftover. In order to make the sleeves the same thickness as the rest of the jacket I also added a layer of quilt wadding between the corduroy and lining fabric which I explained here.


This is definitely one of my proudest makes, I created my own pattern to make it and spent a long time piecing together scraps and overcoming fabric shortages. I'm also so proud of how it looks, the denim panels might have been accidental but I love the detail they add. Considering how much I wear my sherpa jacket I'm certain this one will get a lot of wear too, and it's different to the other jackets I own. If you'd like to read more about the process of making this jacket, you can do so here. I'd like to try a similar project again in the future to use up more fabric leftovers, but in the mean time I think some simple sewing sounds like a good idea! 

Sunday 7 March 2021

Handmade Ruched Front Top


Recently, I've been enjoying sewing with leftover fabrics from my stash. These are fabrics that I've already made something out of but didn't fully use up, so they're not usually big enough to make something like a dress put are perfect for t-shirts. It's been a particularly good thing to do recently as I haven't been able to visit any fabric shops to buy new fabrics and I like being able to use up bits of fabric that would otherwise be lying around taking up space for years. This jacket is the perfect example of using up leftover fabrics from several different projects, although for the most part my leftover makes aren't that complicated.


With this fabric I was lucky to have enough leftover to make a long-sleeved top, although most leftover projects have to be sleeveless due to fabric restrictions. I actually got this fabric over a year ago from Minerva, I really liked the lilac colour but it was more drapey and lightweight than I was expecting so I wasn't sure what to make from it. I ended up making a simple t-shirt for my sister which she's worn as a pyjama top, but I wanted to try and do the fabric justice by making something a bit nicer out of it. Because of its drape I thought it would be perfect for something involving gathers or ruching which tend to work best with lightweight fabrics.


Having been really stuck with what to make when I initially received the fabric I knew exactly what I wanted this time round. The best thing about sewing from leftover fabric which would otherwise never be used is the opportunity to give any technique a go. I love being able to try out new details without the fear of wasting fabric, although these simple tops often turn out really well.
I've made quite a few different tops with ruching details over the last year or so and also want to try out putting ruching into the side seam in the future. I initially made this grey top which has a ruching effect created by ties and really enjoy wearing it, so I then made another similar top out of Tilly and the Buttons jersey. Both of those makes turned out really well, so I know that ruching is a good detail to add to t-shirts.


I didn't want to make another top using the channel and ties so decided to use elastic to add the ruching detail. I first tried this out on this top where I added elastic to just the neckline rather than going all the way down the top. I like both versions, it's great to be able to make a simple adjustment like changing the length of the elastic to create a completely different top. One thing that I took into account after making the other elasticated top was to make the neckline a bit wider. It's hard to know how wide to make the neckline when cutting it as it does change size slightly after the neckband and elastic has been added, but I think slightly wider is better as the neckband will bring it in. I'm also really pleased with how this neckband looks, it's definitely an improvement from the first v-neck t-shirt I made although gathering hides a multitude of sins!


Having added ruching to two tops made from plain fabrics and two from printed fabrics, I really think that it's a detail that looks good on a lot of different fabrics. It can be used to add interest to a plain top as well as being a more subtle addition to a busy fabric. I tend to mainly wear plain tops and to me having a ruched front is the perfect way to make a simple t-shirt more interesting. I'd like to add it to a plain black or white t-shirt next in order to create more basics that aren't boring.