Saturday 30 June 2018

Frankie T-Shirt


I very rarely make things that are green. In fact, I don't think that I've ever made something green before, and it's not a colour that I have in my ready to wear wardrobe either. But for some reason I found myself buying some green jersey when I went to Stoff and Stil last summer. Stoff and Stil have the most incredible selection of jersey fabrics I have ever seen (if you're interested in seeing what else I bought from them you can have a read of that here) and this fabric is the same. It's a medium/heavy weight knit, possibly even a ponte di roma, which means that it has a lovely structure but isn't so rigid that it doesn't hang nicely. It's also a wonderful quality fabric.


I've never been put off sewing plain t-shirts as such in the past, but they're not exactly the sort of project that I'm drawn to. However, when I re-discovered this fabric (which had been somewhat neglected at the back of the cupboard during winter) I quickly found myself levitating towards sewing a Frankie t-shirt. This is the first time I've sewn the Frankie but not the first time that I've used Tilly and the Buttons book Stretch! so I knew to expect perfect instructions and a good fit. I did want to make a couple of adjustments to the pattern though. In the end the main thing that I changed was to take quite a lot off of the hem. The actual t-shirt length is quite long and I knew that I wanted to make it cropped. Also, this fabric isn't the light weight drapey jersey that the pattern calls for, so I thought that it would hang better if it was shorter and I didn't fancy being swamped in a mass of dark green fabric. 


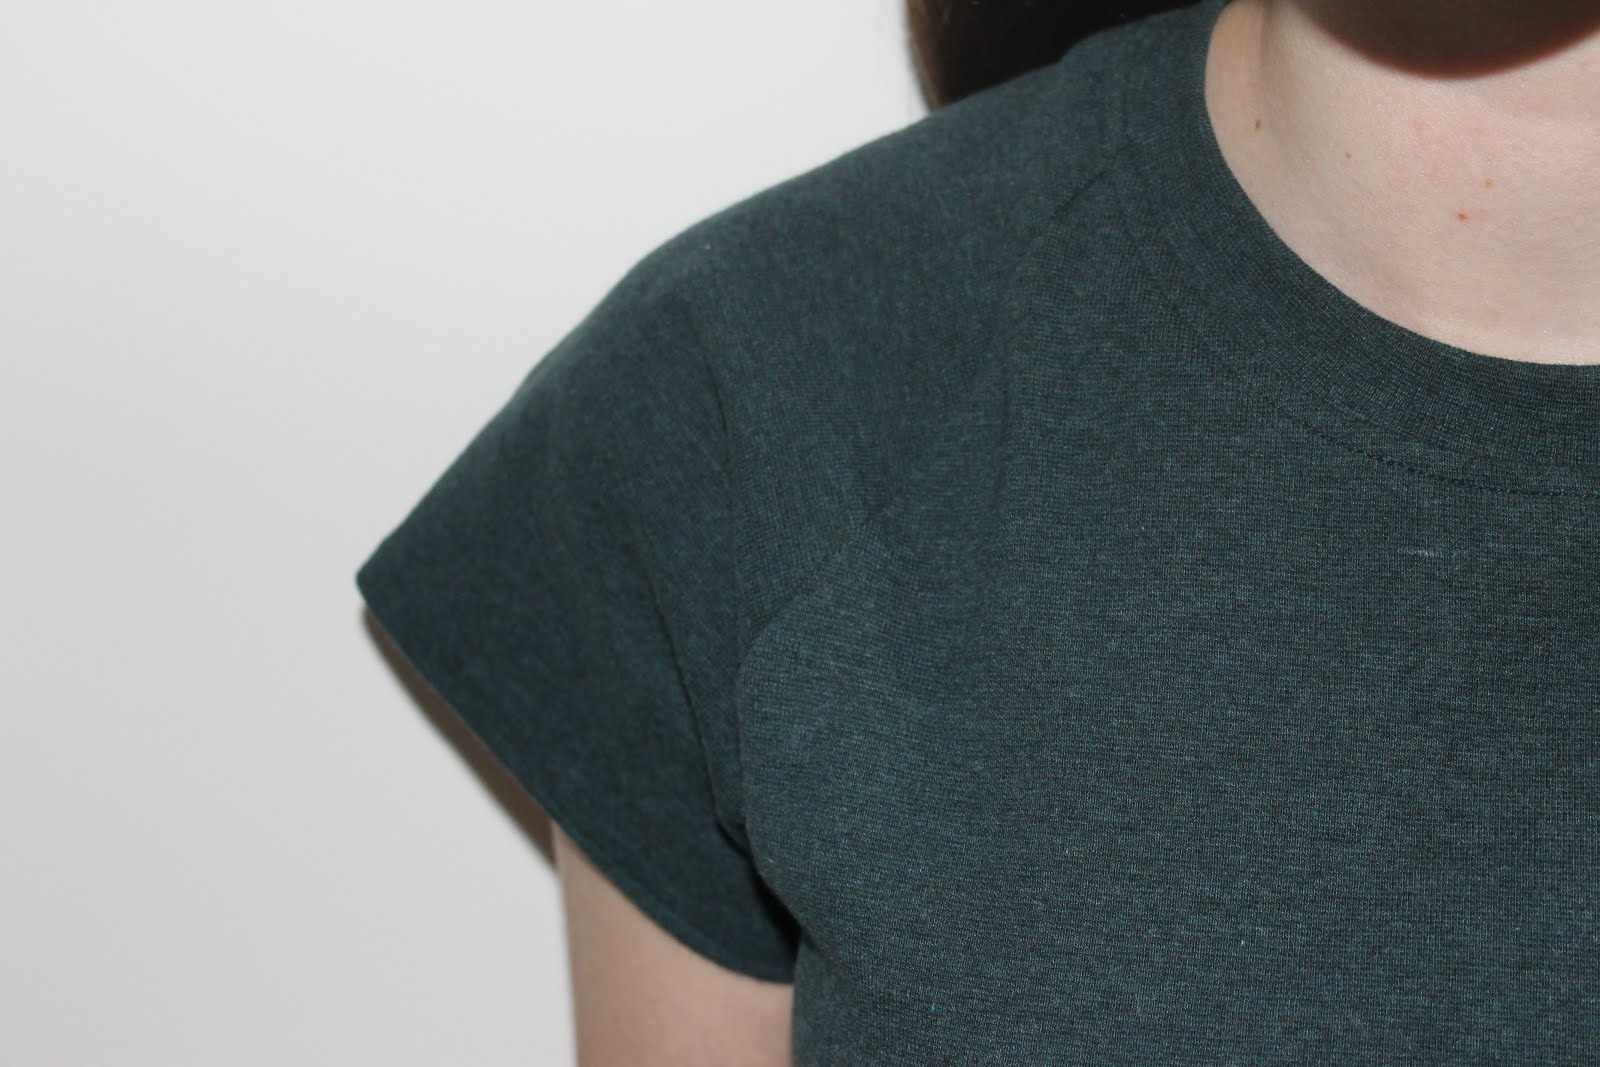
As I've been sewing quite a few t-shirts recently I've found that I've been sewing more and more neckbands. Surprisingly, I'm actually really starting to enjoy sewing them! I now know the right techniques so that the neckband is evenly placed along the neckline and I love how satisfying it is to sew a neckband and topstitch around it. Also, sewing it on an overlocker makes it so quick! That being said, I did recently have to unpick a neckband that I sewed on the overlocker because I placed it the wrong way round...
By now I've made quite a few a few differnt t-shirts and I'm really pleased that this one will be a good pattern to add to the list. The Frankie t-shirt isn't dissimilar to the Linden, but I find that the neckline is much smaller which I prefer. Also, the Linden is more of a jumper wheras this is definitely a t-shirt. Hopefully it will be a really useful top to just throw on but with the benefit of it being handmade to make it more special.

Sunday 24 June 2018

Overlocker Unlocked - Getting Started


Welcome to the first part of Overlocker Unlocked! If you're interested in reading an introduction to the series and finding out what it's all about, you can find that all here.

So: you've bought/borrowed/been given an overlocker. Now what? The first thing to do is get it out of the box. This might seem like a pretty obvious step, but so many people seem lost at where to even start with an overlocker and getting it out of the box is a pretty good first step. The sheer number of threads is definitely what scares me the most with my overlocker, and its something that is quite different to regular sewing machines.


Congratulations! You got the machine out of the box. The first thing I did after this was to give it a go. Before you can start sewing you'll need to make sure that the machine is threaded. My overlocker came fully threaded and I think that a lot do, so I'm not going to cover threading the overlocker unitl my next post. However, there are quite a few videos that you can find online which might be beneficial if you do need to thread you overlocker upon receiving it. 
As I said, my overlocker was already threaded so I was able to give it a go immediately. An incredibly exciting few minutes then passed as I tested overlocking for the first time. I would reccomend using a fabric scrap to test it out at first. I was pleasantly surprised at how easy it was once I started. I think that the main difference is that you can't back-tack with the machine and have to pull the fabric you're sewing away from the overlocker while still pushing the pedal once you've finished that particular seam. The overlocker will, in effect, continue overlocking but not on the fabric, just to connect all of the threads together.


Setting the tension is probably going to be the next thing that you'll need to do. It took me quite a while to get this right but for me I found that quite a high tension (6/7) was necessary when sewing jersey seams together while a medium tension (4/5) works well for finishing seams on woven fabrics. Take your time testing out the differnt tensions with different types of fabric as each machine will require the tension to be set differently.


Finally, a word of caution: that blade is real! It also really confused me at first as I couldn't work out which part of the mechanism was actually doing the cutting. The blade is in front of the the needle (rather than beside it) which is something to remember. You can see in this photo that it's the part just in front of the foot. As I said, it's very sharp!

Monday 18 June 2018

Hadley Top


During the post-Christmas John Lewis fabric sale my Mum spotted this gorgous nani-iro double gauze fabric with metallic spots on it (it's no longer in stock at John Lewis so I've linked it to Guthrie & Ghani). Full price, it's quite an expesive fabric but in the sale it was massively reduced and so my Mum asked me to make her a top out of it. As I've said before, I love sewing things for my Mum so was perfectly happy to make something for her, especially out of such a stunning fabric.


My Mum chose the Hadley Top pattern to have made for her, not a pattern that I've used before but one that I've coveted for a while. It was such a lovely sew! The instructions are fabulous and Grainline Studio have incredibly well-drafted patterns which hang beautifully. The Hadley is no  exeption. The varitations can be mixed and matched to create a varitey of differnt views. My Mum always decides the details when I sew something for her (all I do is sew it!) and chose to have an inverted pleat at the back, a round neckline and for the top to be sleevless. 


This fabric is a double gauze, and while it has a lovely drape to it I would also like to try sewing the pleat with an even drapier fabric at some point as I'm sure it would hang beautifully. The top has a key hole opening at the back fasted with a hook and eye which means that it can be taken on and off without trouble and without disrupting the pleat. I am defintitely going to be sewing myself a Hadley at some point and would also like to try the view with a seam down the centre back rather than a pleat, although I do like this version too, so there may be several more Hadleys to come!


I think that the reason I loved sewing this top so much is that everything is finished so cleanly. I sewed every seam on my overlocker to finish it (more on that soon!) and I really feel that the inside looks as nice as the outside. The armholes are finished with facings, there are neck facings and hem facings too so everything is beautiful inside. The hem facing also meant that I could finish  the top with a wide hem, a detail that I love.
The style lines of Grainline Studio should be commended, I think my favourite detail of this top is the centre front seam. This seems like a strange favourtie detail to choose, but I love the topstitching so much! I think that this top could look great with contrast topstitching too, yet another thing to add to the list of Hadleys...

Tuesday 12 June 2018

The Superpower of Sewing


I wasn't joking last week when I said that I'd been sewing lots of basic tops! This is another top that I love and has quickly become a staple, depite being such a simple idea and design. I have been wanting a simple grey top for a while and was originally going to buy one. However, the shop in question didn't have my size in stock, and as I found myself wandering through the John Lewis fabric department I realised: why don't I just make it?
Don't get me wrong, I rarely decide to buy an item of clothing that I could make, but for some reason I had decided that it would be best to buy this grey top so that the length, fit and style was right. But I realised that the length, fit and style is never perfect unless you make it so that those categories can be ticked off exactly how you want them to be. This top pretty much sums up one of the many reasons that I love sewing: you can make it exactly right when you make it yourself.


Quite often, I find that it is much cheaper to buy an item of clothing rather than make it. But with this top it was actually the other way around. As I mentioned, I wasn't planning on making this top until I found the perfect fabric in John Lewis. I only needed to buy 0.75m so I ended up with a lovely shade of grey, good quality fabric and a top which I could design to match exactly what I wanted in the first place. Can you tell by now that I'm delighted that I made it?!


Moving onto my favourite part of this top: the Eiffel Tower patch! I bought this patch ages ago, when I visited Frou-Frou. For such a long time I've been unsure on what to use it on, but I'm really glad that I waited as I think that this is the perfect project for it. It's quite a subtle badge but has a nod to giving this top a more personalised touch. It also carries the happy memory of my trip to Paris with it. 
The other main feature of this top is the hem. I decided to experiment a bit on the hem by sewing a lettuce hem. It's not something that I've ever done before and I wasn't entriely sure about how it would look, but I really enjoyed learning a new skill and I actually really like the look of it too! Again, it's quite a subtle feature but adds a nice extra interest to the top.


This top was sewn with the same self-drafted pattern as my black top, yet they look really quite different! I've already worn this one a lot too, and especially love it with my wide-legged trousers.
By no means is this top perfect. Sewing something yourself will never be as precise as something sewn in a facotry. But I was able to make something that I love, that is exactly to my taste and style because I designed it. Something that has a personalised touch, that carries memories, that I know will last a long time because it is made out of a good qualtiy fabric. And for those reasons, sewing is a superpower.

Wednesday 6 June 2018

Black and White


I've been sewing quite a few basic t-shirts at the moment and this is the first of several that I have to write about. Sewing basics can seem like quite a dull task, however I really enjoy sewing things such as t-shirts that I know will get a lot of wear. They're so quick to sew too!  I've also experimented with adding extra details onto what would otherwise be standard garments, and I love that a simple addition can really make a garment unique.
This is another make from the fabric that I bought when I visited Higgs and Higgs, and like all of their jerseys this black one was wonderful to sew with. It's actually a ribbing, something that doesn't show up in the photos but is apparent when you see the top in person. I love the extra texture the ribbing gives, and it makes the top super stretchy and therefore really comfortable (always a bonus!). The ribbing also allowed the neckband to go in really smoothly and easily.


The fairly obvious part of this top that makes it into something, is the contrast white 'pleated trim picot edging' that I bought as a slightly spur of the moment addition. I was initially worried it would look too crazy but to be honest I could probably have been able to get away with adding more (not that I want to add more). I absolutely LOVE it! I think it's such a great addition, and as I said turns the top into something more than just a basic black t-shirt. My Mum is entrirely to thank for this, she was the one who noticed it in the shop and pursuaded me to buy it so thank you, Mum! 
To attatch the trim I simply topstitched it onto the sleeve at the bottom. I left the hem of the sleeve raw as the fabric doesn't fray and decided to sew it on top of the sleeve as an applique rather than underneath the black. Again, I'm glad I did this as it creates a nice texture and I don't think that it needed to be hidden underneath the black.


The pattern is self drafted and has immediately become a go-to pattern for me for a basic top. The only thing to remember is that this fabric is very stretchy and so needed to be sewn with a larger seam allowance on my overlocker than another t-shirt made out of a less stretchy jersey. I wasn't sure how long I wanted the top but I knew that I wanted it cropped to wear with high-waisted trouseres and skirts, and when I tried it on I found that it was the perfect length so I'm pleased about that too.
Overall, I don't think that such a basic garment has ever made me so happy! This is definitely one of those makes that makes me smile when I put it on, and it's all thanks to taking a risk with a slightly strange white trim.