Saturday, 5 October 2019

Navy Cardigan Top


When it comes to sewing plans, mine are a complete mix. Some projects I have planned for months and others are completely spur of the moment. I always find it refreshing to make something quick and easy after a more in depth project and it's nice to be able to make something that wasn't planned so that there's is no expectation about how it's going to turn out. I also really like being able to grab some fabric I have lying around and make something completely different when I don't have a sewing project on the go. 


This top was definitely a spontaneous make. I've seen a few cardigan style tops recently and wanted to have a go at drafting and sewing one. For most of this project I had absolutely no idea about how it was going to turn out and this was made possible through the fabric, a jersey that I bought for 2€ a metre from a market in Bordeaux! I bought a couple of others including the white one for this top at the same time and they are perfect for exactly this kind of project. The fabric actually feels really nice and I thought it would be absolutely perfect to use for wearable toiles when I'm drafting a design. Having the cheap fabric means I'm free to experiment as it doens't matter if the final garment actually works out.


This top is a pretty similar concept to my jersey shirt. I really like the look of buttons with jersey and although I love the design of the shirt I wanted to give a slightly different design a go. I used my much loved technique of sewing the buttons through both layers of fabric to avoid buttons holes on jersey which is such a great solution when sewing with stretchy fabric that can easily slip over your head. For the button band I actually used this tutorial on binding a neckband. I don't think I'd ever use this technique to bind a neckband but it was perfect for this top. I cut a long 3"strip and then followed the instructions to attatch it along the whole of the front of the top and the neckline. It worksd perfectly, the thickness makes the button band nice and stable and it's a really neat finish on the inside as well as the outside. The top is finished with a lettuce hem which is currently my favourite way of hemming jersey tops.


I  think these projects are my favourite kind: choosing inspiration from ready to wear and then trying to replicate it. It definitely helps to use a cheap fabric in case it all goes wrong but I've found that actually most things can be salvaged (to some extent!). Like my jersey shirts, I think that this will be a design that I make again in lots of different colours.

Sunday, 29 September 2019

Chambray Summer Ruffle Dress


Despite posting this on a very rainy day at the end of September there was a time this year that I was actually able to wear this dress! Dresses seem to be one of the most popular items of clothing to make but they have never been something that I have made regularly. This is mainly due to the fact that dresses aren't a part of my everyday wardrobe and so I haven't ever had much need to make one, exept for a specific occasion such as my prom dress. However, this year I was determined to make myself a summer dress. My only aim was for it to be light and not too fitted to be perfect for hot weather.


I drafted a very simple cami-style bodice with thin straps and then attatched two layers of gathers to create the skirt. I don't think I could have created an easier design! It's exactly what I had in mind though, perfect for heatwaves. I really love the ruffles that the skirt creates but I was careful not to over-gather the fabric and I'm pleased with the volume of the final skirt. The bodice is probably a bit too big despite wanting a loose fit but seeing as it's a dress to be worn on holiday it doesn't really bother me enough to go back and change it.

I actually made this dress about three days before leaving to go on holiday, when I finally came to the conclusion that going on a summer holiday without a summer dress was on the route to ruining my carefully curated handmade holiday wardrobe! The lack of time meant that I wouldn't be able to buy any more fabric or purchase a pattern. I know I could have bought a PDF, but I much prefer printed patterns and I prefer drafting my own patterns even more. So the lack of pattern didn't really pose a problem but the lack of fabric initially did.


I don't really have any suitable fabrics for a dress stashed away as I tend to buy fabrics with stretch and try not to keep farbics in my stash for too long. The idea of having enough fabric leftover from another project seemed far-fetched, but I had a look through some of my fabric leftovers and managed to find the perfect thing! I rarely buy or ask for more fabric than I need for a project but sewing plans have a tendency of changing, meaning that sometimes fabric is leftover or more needs to be purchased at the last minute. In the case of my chambray top the situation was the former and I ended up using less fabric than I had initially intended as my plans changed. This meant that I just (and I mean just!) about had enough of this lovely chambray farbic leftover from my top to squeeze out this dress.


Luckily, I didn't want the ruffles to be overly volumous as I didn't have enough fabric to gather them any more even if I had wanted more gathers. I really used every last scrap of fabric (which is a really satisfying I always find!). The lack of fabric did mean that there is a seam in the centre back of one of the ruffles where I had to sew two pieces of fabric together but it really doesn't bother me that much - especially as I can't actually see that when I'm wearing the dress!


Monday, 9 September 2019

The Perfect Grey Linden Jumper


This September marks the start of my first year without wearing a uniform, which of course means that there are lots of clothes waiting to be sewn! When it comes to making more everyday clothes I've found that what I really need to sew at the moment are long sleeved tops. I spend most of winter freezing, so making tops that can be worn either alone or on top of t-shirts (i.e. as jumpers) is exactly what I have in mind. This also means that I want to make something out of pretty much all the knit fabrics I see!


My latest make ticks all the boxes which is no surprise as the Grainline Studio Linden Sweatshirt has never disappointed yet! This is in fact the tenth one I've made - TEN!! Not all for me, as my Mum also loves this pattern. Each version I make seems to turn out completely differently due to fabric weight, cuff/hemband addition and also length. I don't wear all of my Lindens as the ones sewn a couple of years ago no longer fit or aren't what I want to wear at the moment, but the majority are still worn regularly. I can immediately see this one becomming my new favourite as it's already filled a gap by being the perfect length and colour to pair with brighter trousers.


When a make is this simple I really like to spend time on the details to make sure it's finished to the best possible level. I really love wide hems, I think they add a much more professional finish and they're also much nicer than small hems on jersey fabric. I was keen to make this jumper the perfect cropped length. I think the length is just right and the proportions are definitely aided by the wide hem. It might be hard to tell from the pictures but I've added two rows of topstitching to secure the hem in place which is another really small detail that I love. I also decided to add cuffs which finish offnthe top nicely.


The only slight hiccup in the making of this top was the neckband. The rib fabric I used is super stretchy, meaning that I had to unpick the neckband (which I had overlocked in place!) and cut it almost in half before re-attatching it as it just wasn't being stretched enough to bring in the neckline. It was annoying but defintiely worth it and the fabric is perfect in every other way. It means that I have a better idea of what to do next time I use such a stretchy fabric on a Linden as the majority of the ones I've made in the past were using sweatshirt knits not ribs. In fact, the next one is hopefully coming very soon as I absolutely love this top and I'm already convinced it would be perfect in a variety of other colours!

Wednesday, 4 September 2019

Ochre Linden Sweatshirt


Despite having made more versions than I can recall off the top of my head, the Grainline Studio Linden Sweatshirt remains a pattern that I always have in my mind at the start of a sewing project. I'm currently on the lookout for sweatshirt knit fabrics to provide the perfect fabric for making a cropped jumper and I decided that the Linden Sweatshirt would be the perfect pairing with that type of fabric in order to achieve the garment that I had in mind.


What I love about this pattern is that simply using a different weight fabric or changing the hemline can give the jumper an entirely different look. As I mentioned I wanted to make a cropped sweatshirt as the long-sleeved Lindens that I already own are all long and the cropped ones have short sleeves. I used this quilted jersey farbic to make the sweatshirt and although I was slightly dissapointed with the colour when it first arrived the weight is perfect to make a jumper and I love the quilted motif.

If you're interested in reading more about this jumper feel free to head over to Minerva Crafts to do so.

Wednesday, 21 August 2019

Purple Stripes Boxy T-Shirt


I'm a firm believer that the most basic makes are often the best. Whilst I love planning and executing bigger projects, t-shirts remain one of my favourite things to make. Not only can they be made from less than a metre of fabric, they're also perfect for showcasing more interesting prints and designs. T-shirts are also really quick to make and it's nice to make something and know that it's destined to receive a lot of wear. I really love jersey fabrics and often find myself levitating towards them in fabric shops - probably why I seem to be constantly making t-shirts!


When a garment is really simple I find that the shape of it becomes much more important and the proportions have to be just right. In this case I wanted to make myself a cropped boxy top which is a style I really love. After a bit of back and forth I think I may have finally got the proportions of the pattern just right! I used a ready to wear top to determine the width and length of the bodice something that I find often really helps to make the top look professional and not handmade if I'm not using a pattern. Having now drafted a pattern for this top I'm hoping to replicate again and again!


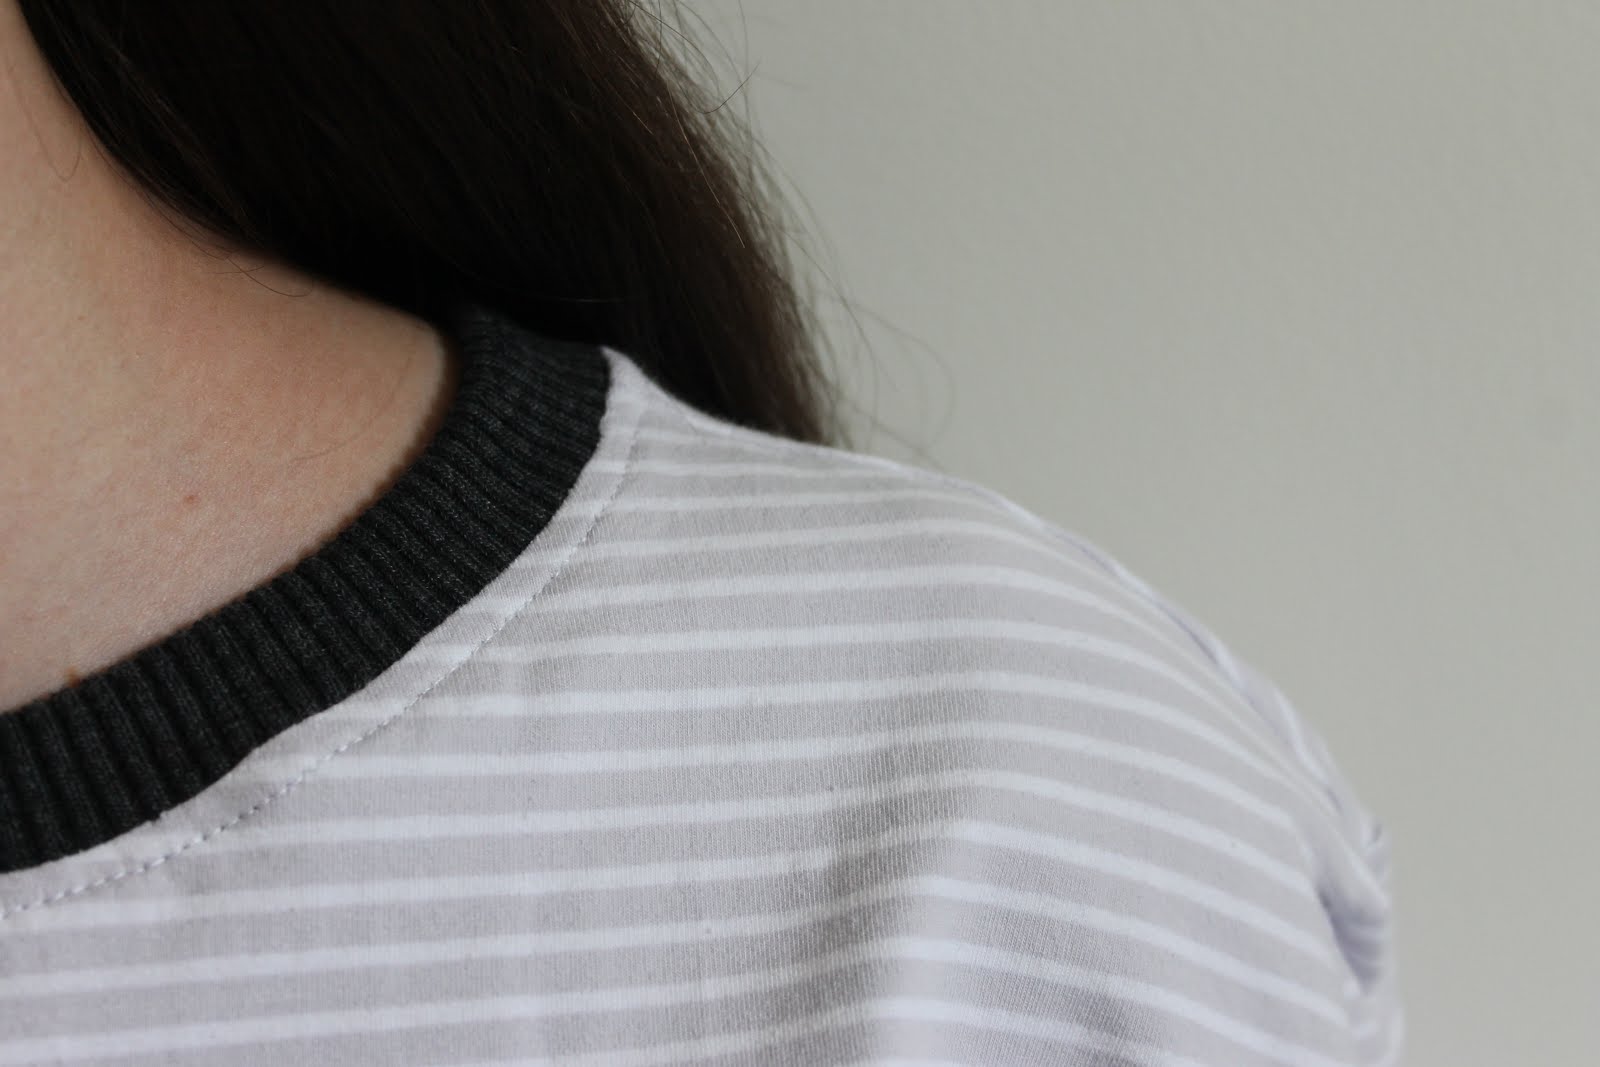
Another one of my favourite things about basic makes are statement details. As evidenced here and here, I'm a big fan of basic tops with a twist. I've noticed quite a few tops with contrast neckbands cropping up and I mentally added it to the list of details I wanted to try out. This make proved the perfect opportunity and I added a contrast neckband with the charcoal rib I had leftover from this dress. The fabric I used definitely has a touch of grey in it (although in real life it's primarily lilac) so I think it goes nicely with the grey neckband.
The jersey I used on this top is gorgeous, it's medium weight so holds it's shape really nicely and feels lovely to wear. I love stripes but it can sometimes be hard to find them in colours other than blue/black and white so I was really pleased to find this purple one with narrower stripes. I bought this fabric when I went to the Knitting & Stitching Show at Olympia so it's nice to have a reminder of that day everytime I wear this top!


I'm really pleased to have another basic but very wearable top to wear and I think this one is one of my absolute favourites! For something so simple it's really nice for details to work so effectively. The t-shirts are unlikely to stop here and I'm looking forward to making a couple more using this pattern.

Wednesday, 14 August 2019

Sewing for others: Floral Blouse


I've always enjoyed making things for other people and as my sewing has improved this has expanded to sewing for others outside of my family, something that I'm always happy to do. One of the main issues around sewing for a hobby is that I have ended up with quite a lot of clothes! On top of this, buying fabric isn't cheap. Sewing for other people is the perfect way to continue to sew without ending up with too many clothes or having to spend even more money on fabric. It also allows me to try sewing different styles of clothing that I might not make for myself. 


One of my mum's friends gave me a top of hers which she wanted to be replicated along with some fabric to do so. It was a fairly standard blouse which was easy enough to copy and I always enjoy the process of copying a RTW garment into a handmade one. It's actualy extremely similar to this top that I made my mum a couple of years ago (which she still loves!) so I was familiar with transferring the darts onto a pattern, which was probably the hardest part of the pattern drafting process. The original top did have a button placket down the back but I omitted this as it wasn't actually needed to put the top on and off. To make up for the lack of detail on the back I added a centre back seam that I topstitched either side of, although in hindsight the fabric is busy enough not to need it.


I tend to almost always sew facings on woven garments as I prefer the cleaner finish. However, with the interest of copying the top that I had been given I made some bias binding for this blouse to do a bias-neckline and I'm surprised at how much I like it! I think that my adversion to bias is when the neckline is bias bound as it often results in an uneven and somewhat bumpy neckline. In this case the binding is sewn right-sides together and then turned under and topstitched so that you can't see any of it on the right side of the garment which I like a lot more that sandwiching the neckline between the bias binding. I'm really pleased with how neat it looks too, especially on the inside!


I'm very happy with how this top has turned out and hopefully the recipient will be pleased too! One of the main differences in my sewing when it comes to others is spending a bit longer focusing on smaller details such as ensuring that the topstitching is completely straight. The pressure of sewing for someone else often leads to a slightly cleaner finish which is something I always try to incorporate into my own sewing too even though it's tempting to cut corners if no-one else knows!

Tuesday, 6 August 2019

An update on The Soothing Quilt EPP


A couple of months ago I introduced my latest English paper piecing project which I've named The Soothing Quilt. I wanted to give a quick update on it's progress mainly so that I have a backlog of photos and thoughts taken along the way which I think will be nice to look back through once the quilt is finished. Since June I've made quite a bit of progress on the quilt and the main thing I can't believe is how much the colour scheme is already changing! As I mentioned, the intention is for there to be a diagonal colour gradient, beginning and ending with purples while progressing through blues, greens, yellows, reds and pinks. 


I really love how the fabric collection draws the colours together with the three consistent designs. I feel genuinely excited when a new colour is introduced to the quilt! My aim is for the colour change to be gradual meaning that there are spots of green in the blue area and vice-versa. It's one of those patterns where my eyes are continually drawn to a new block with a fabric combination that I hadn't realised I'd added and choosing a favourite block is particulary difficult!


Unlike dressmaking where much of the project involves planning, drafting and cutting, the majority of EPP is spent actually sewing. While the glueing of paper to fabric can get a bit tedious, cutting out the fabrics for the next row is something that I really enjoy doing. I'm expanding it as a square to make sure that it can still be turned into a quilt even if I run out of fabric so cutting fabric is a batch process that increases as the quilt gets bigger and more blocks are needed. Having just cut out the fabric for the next row (where red will be introduced for the first time!) I have quite a bit of glueing ahead of me but I'm looking forward to sewing together some new blocks and seeing what the quilt looks like as it continues to change.