Sunday, 24 February 2019

Sparkly Top


I really enjoy experiencing sewing with different techniques and fabric and this top incorporates both an entirely new technique and a new fabric for me. This was a top that, while it may not receive as much wear as, say, a jumper, was something that I really enjoyed making and will be glad to have in my wardrobe for special occasions. In other words, it's frosting not cake!


Let's begin with the fabric. I have wanted to sew with some lurex knit fabric for a while after seeing lots of lovely garments made out of it on the high street around new year. I decided to use this lovely fabric from Minerva Crafts. I wanted to use a lurex fabric which was black and silver as I love the contrast between the two colours and the silver catches beautifully on the light. The only thing I hadn't anticipated was that the fabric was transluscent.


As I mentioned, the transparency of the fabric called for something to be worn underneath it. I wanted to make something quite elegant and a v-shaped camisole seemed perfect. I used a satin-like fabric to make it and I love how it looks underneath the sparkly fabric. Because the silver doesn't show up unless its on top of an opaque fabric the shape can be seen really nicely. I made the cami so that there was a much deeper v at the back and I LOVE the shape of it! For the camisole I drafted a very simple design which is similar to the Ogden Cami if you'd like a pattern to make your own.


The top I made was quite a venture into the unkown, but I think it turned out nicely! Shirring is a technique that I have never tried before but was keen to give a go and this top presented the perfect opportunity to try it out. Honestly, I had no idea if the shirring would work in the slightest but it did and I'm delighted by the result! It's such an addictive thing to sew, just going round in circles is strangely theraputic. 


Overall, this was a project that I really enjoyed making. I love the fabric and the details such as the wide sleeves and I also really enjoyed adding shirring to the top. It has turned out slightly dressier than I was anticipating (again, I think that's mainly due to the length of the peplum) and I'd like to try making another similar version that's slightly more casual.

Feel free to head over to Minerva Crafts to read the full blog post.

Saturday, 16 February 2019

Needlecord Moss Skirt


The weather has been extremely gloomy lately meaning that taking photos is increasingly difficult, so I'm currently jumping at the slightest glimmer of sunshine to take photos. In the meantime, gloomy days do call for sewing and I've been enjoying doing just that! Due to the lack of photo-taking opportunities I actually made this skirt quite a while ago and have only just come round to writing about it. I do find that with the occasional project I fall at the last hurdle: a hem isn't finished or the sleeves aren't altered. The garment then sits there for a while before that one task is completed and I then wonder why it took me so long to do in the first place! In this particular case it was the button (the button!) that I didn't get round to hammering in for a couple of months after completing everything else. The actual task took minutes and characteristically I can't quite believe that it took me so long to do it! Now that the skirt is completely finished though I love it.


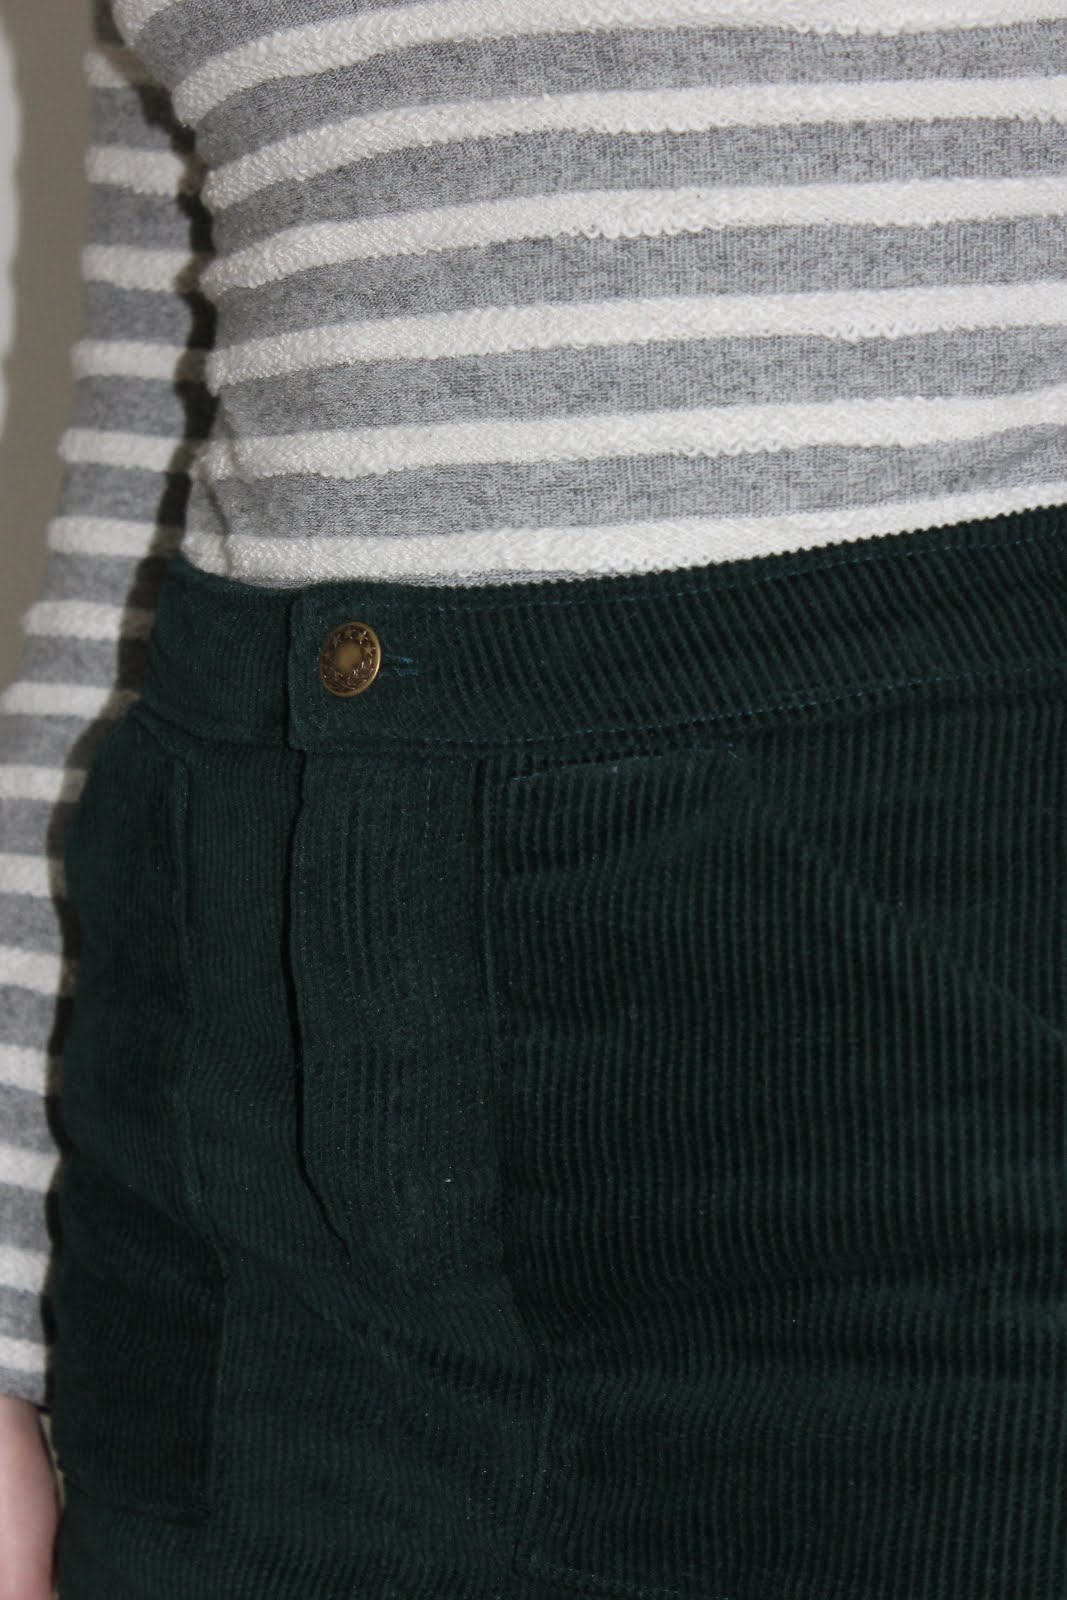
I really like wearing skirts and tights in the winter and I love the current trend for corduroy. Previously, I've only sewn with needlecord which is a much finer corduroy but I've been eager to make something out of a thicker corduroy for a while. I bought this particular fabric at the Knitting and Stitching show in October and I love the colour of it so much. It's a forest green (not dissimilar to the colour of my Rosa shirt) but the thing I love about this fabric is how thick the cord is. Chunky corduroy is perfect for mini-skirts in my opinion and I knew as soon as I bought it that it was destined to become just that.


I've seen quite a lot of skirts made from chunky corduroy on the high street recently (here, here) and one of the details that I really like are trapezium shaped pockets. For the base of my pattern I used the Grainline Studio Moss skirt. I wore the version that I made in the summer so much and I know that the alterations I made to make it high-waisted work well for me. Rather than cutting pockets I cut the front pieces to mimic those of the back and instead added my own pockets on top. I actually used the Tilly and the Buttons Mila add-on pockets which are a free download for the pocket shape. Although the pattern piece isn't quite right as it's specifically designed for those dungarees it was much easier to draft my own shape with a pre-existing template. I'm really happy with the final look of the pockets, the next thing I'd like to try is a skirt out of denim with the same pockets.

I'm really happy to be able to add this skirt to my wardrobe. I quite like the contrast of the brass button and the green needlecord and I'm considering adding rivets to the pocket edges too. I love both the colour and the style of this skirt, I'm so pleased I finally added the button!

Sunday, 10 February 2019

Black Stella Hoodie


After the success of my last Stella hoodie (which has received a lot of wear) I decided it was about time that I make another. What I love about my previous Stella is how the cropped length means that it can be worn with a variety of different things and I wanted to create something of the same style but in a different colour way.


The fabric that I used for this top wasn't actually intended for a hoodie. I purchased this at the Knitting and Stitching show in October with the hopes of making a short-sleeved Linden or some sort of equivalent in the summer. Because of this, I only bought 1m. I was then overcome by the sudden urge to make the fabric into a hoodie, something which was perfect to wear at this time of year. As you can imagine it wasn't easy getting a hoodie out of 1m of fabric but I just about managed with some very skilful pattern placement! I'm really glad I made a hoodie in the end too as it's already received a lot of wear and I think that the darker fabric wouldn't have been as well suited as a top aimed to be worn in the summer.


The main reason I was able to make the hoodie with so little fabric was because I used a contrast fabric for the hood lining. To be honest I probably would have done this anyway as I prefer the contrast and I think that the light grey does a good job of breaking up the black too. I like that while it's black the dots make the jumper a bit more interesting and I somehow discovered that I had the perfect shade of grey jersey to match the spots as a leftover fabric from a different project, so I was very pleased about that! The fabric is such lovely quality, it's a medium weight jersey meaning that it's thick enough to hold it's shape and be a bit warmer while also being light enough to hang nicely. I would like to try making the Stella in a really drapey fabric at some point though to see what it looks like.


My favourite detail of this jumper is the label which I love! My sister gave me this gorgeous label around the time I was making this jumper and they just seemed to match so perfectly. It makes me smile every time I put this top on. Having always used the same labels in all of my garments I've discovered that I love having a variety of different labels, be it a woven label like this one of a snippet of beautiful fabric like the hook in my Kelly anorak.


The main thing that I disliked about my first Stella was the lack of cuffs. Although I purposely omitted them in the first place it was something that bothered me every time I wore it. I've since added on cuffs to that hoodie (it took me a long time but I finally did it!) and I knew that I wanted to include cuffs on this hoodie. I'm not sure what it is about them but they seem to be the right way to finish off the sleeves and without them something wasn't quite right.
I'm so pleased I made this hoodie when I did as it's received a lot of wear, especially with my Anima pants. It's such a simple make but is the kind of closet staple that receives a lot of wear.

Monday, 4 February 2019

Burnt Orange Linden


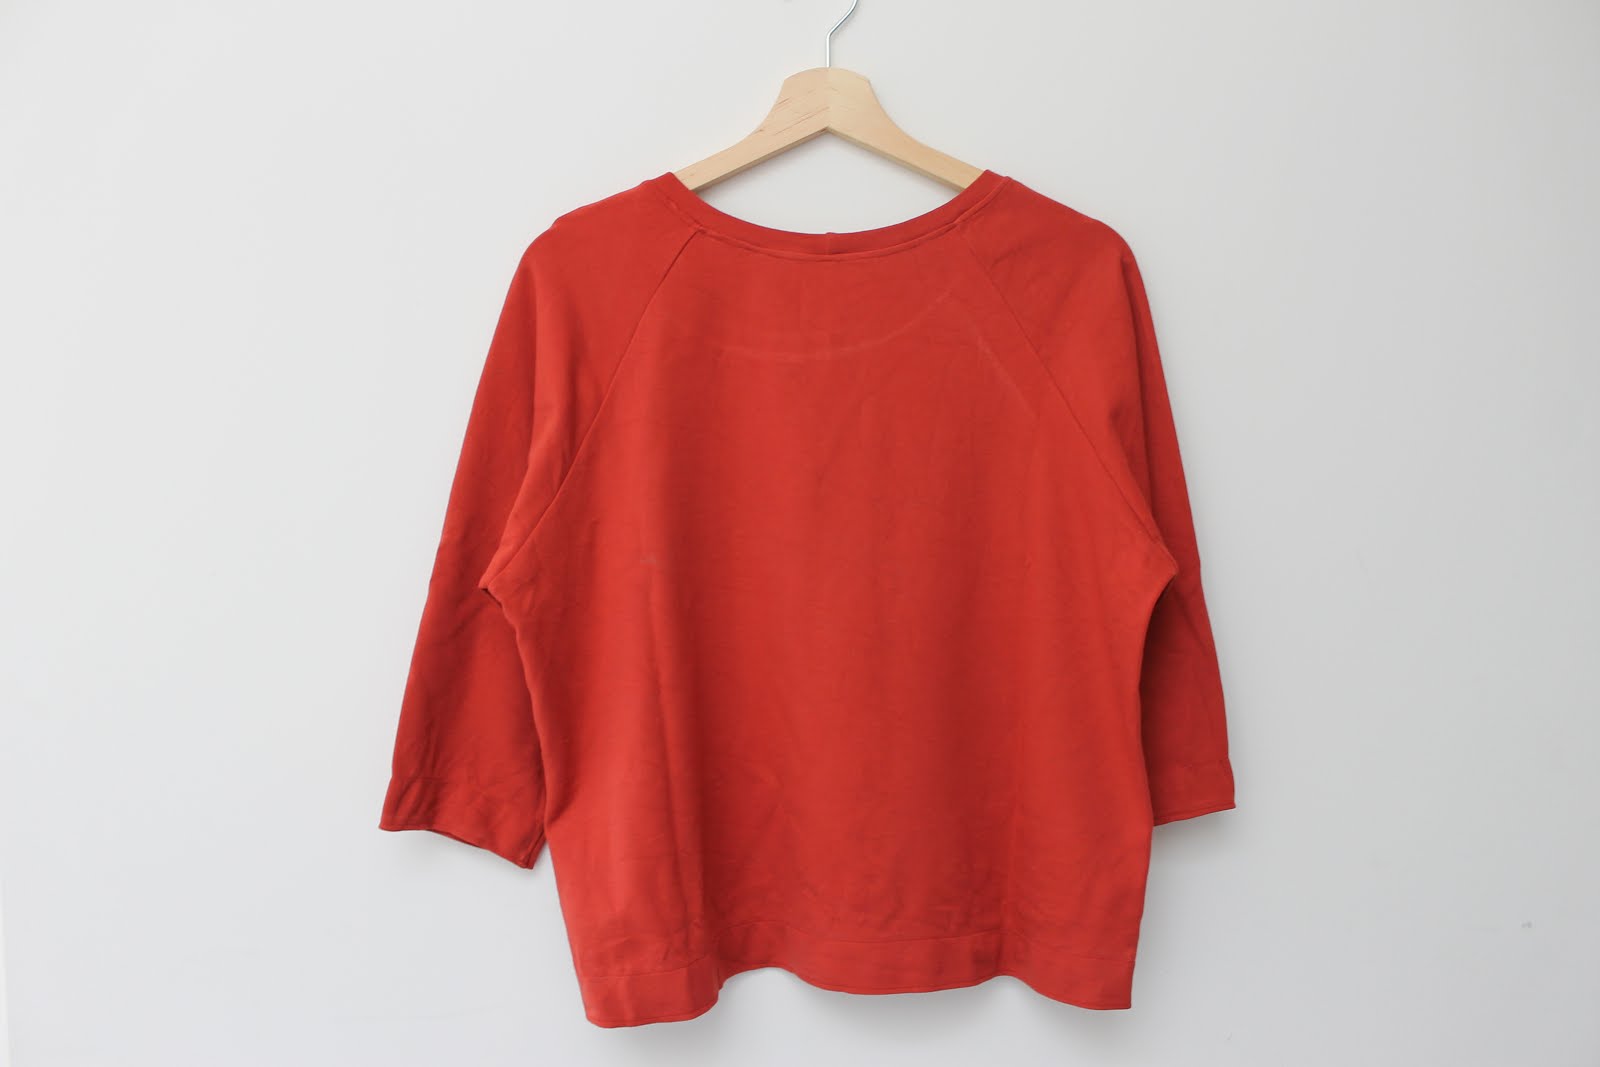
I really excited to write about this Linden as I just love it! This was another handmade Christmas present, this time for my Mum. I love making gifts so much and I was really happy to be able to make both my parents a top this year (you can see the top I made my Dad here). When it comes to sewing clothes for others, especially presents, I find it best to use a pattern that I've used before and that I know fits them and suits them well. For my Mum this is, of course, the Grainline Studio Linden sweatshirt. I've made an awful lot for both myself and my Mum. This is actually the fourth one I've made my Mum and if you look at the first, second and third you will see that I've used the same alterations every time. It's an adaptation of view B, slightly cropped but not too much so and with 3/4 length sleeves. It sounds incredibly boring to make the same version each time but I love making them and she loves wearing them so altogether I'd say that it's the perfect combination!


The main concern I had when it came to this top was the fabric. This was the first time that I made a garment for my Mum without her choosing the fabric so I was quite nervous that the colour wouldn't be right. When we visited Backstitch we both admired their burnt orange ponte roma fabric, and remembering this I ordered it online. In the end the fabric was perfect. The colour is gorgeous: bright but not too bright and the weight is spot on for the Linden. Although the pattern can be made with a variety of differently weighted jerseys I much prefer it in a heavier fabric. The colour isn't showing up quite right on screen as in real life it isn't quite as bright.

One of the details that I've added to the majority of my Mum's Lindens is the addition of a wide double-hem. It was her idea initially but I love it. For such a simple thing to do it adds a really nice touch to the garment. It's so lovely to have a well received present when so much time has gone into it, I loved making it and I hope that my Mum loves wearing it!

Tuesday, 29 January 2019

Jersey shirt


I'm so excited to write about this top because I just love it! This was an idea that formed in my head but I had no idea if it would work or not so I am so pleased that it did. This top was another creation inspired by a top that I saw on the high street. I then drafted a pattern to re-create it and I'll admit that there were a lot of incredibly frustrating parts to this project as always with a self-drafted pattern, however I'm really pleased I resisted the temptation to give up on it because the end result is just what I was hoping for.


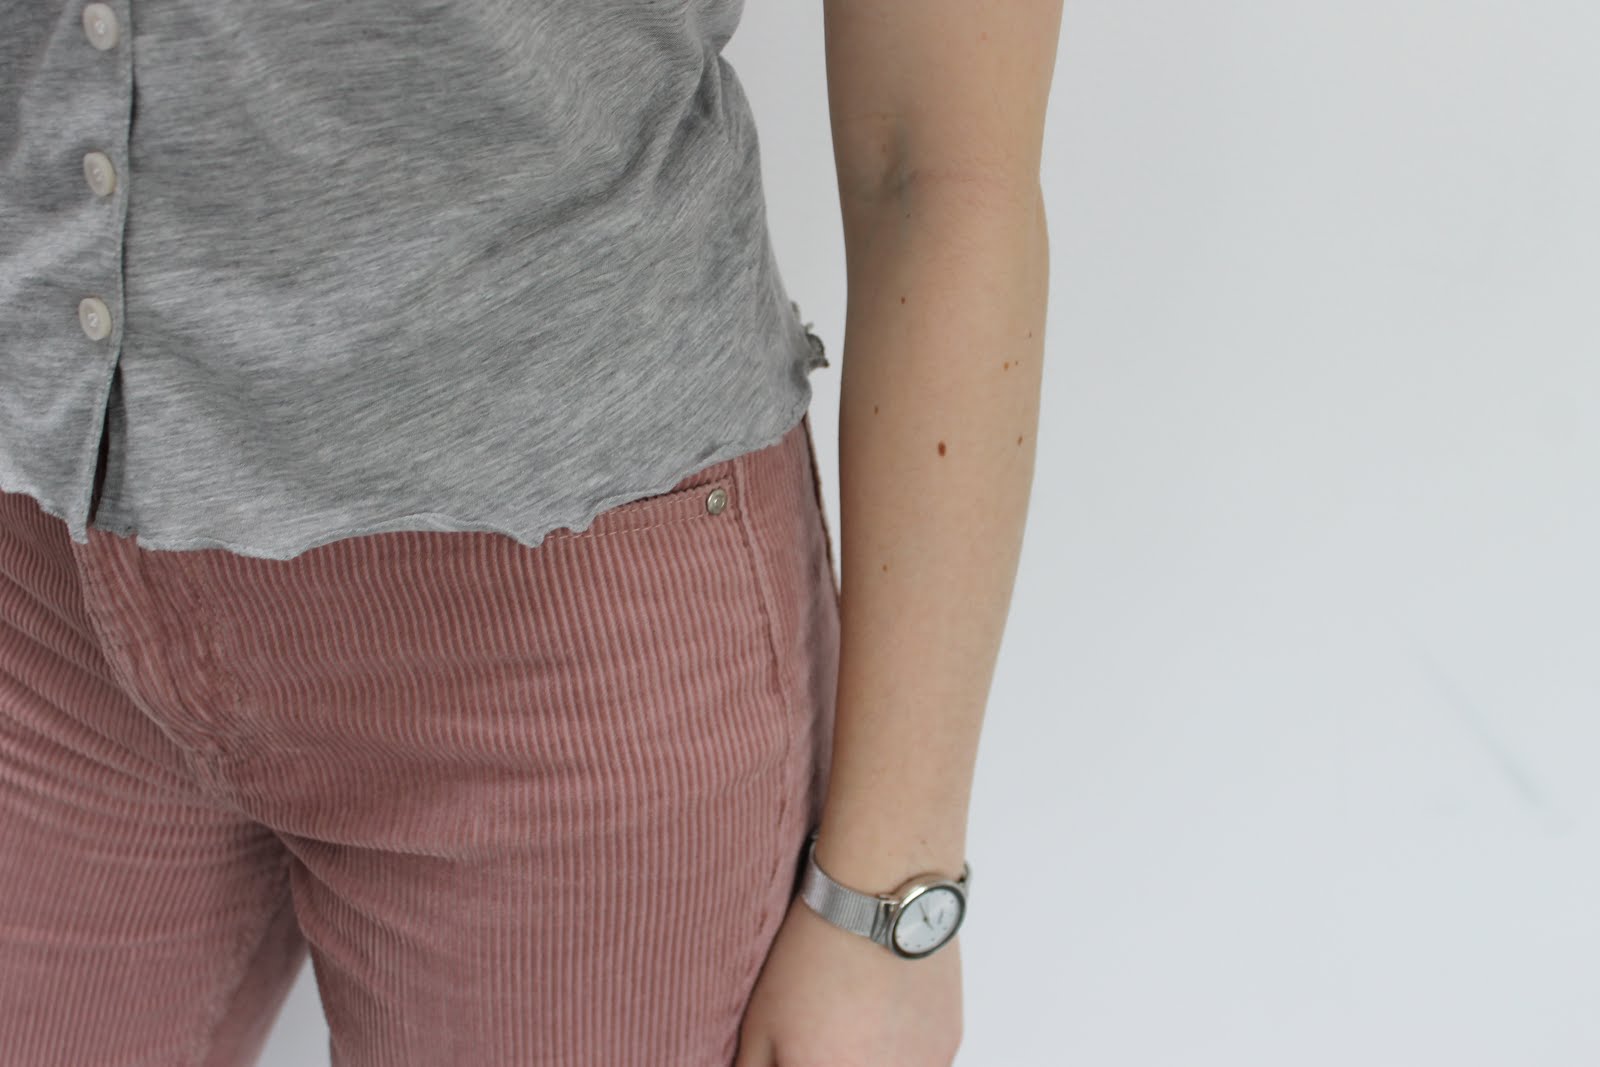
I love being able to recreate items of clothing that I see and drafting my own patterns is definitely something that I enjoy and that I'd like to continue doing in 2019. The top that I was inspired by for this project was this one. I really liked the idea of making a shirt out of jersey, definitely not the kind of fabric usually used for a shirt. I recieved this lovely cotton jersey from Craft Cotton Co and the shirt just seemed like the perfect thing to make out of it! The fabric was much more light weight than I was anticipating which meant that I wasn't able to make what I had initially planned, however it is perfect for making t-shirts in. It's a lovely shade of grey too.


When it came to drafting the pattern, it definitely wasn't easy! The collar in particular was really difficult as I wasn't sure how deep the curve should be. After making the collar I did nearly give up: it wasn't at all wide enough to go around the neck of my dress-form and it just wasn't lying flat. In the end, I actually rolled the collar to the inside about a cm and pinned it down to see if it would work; and it did! To keep the collar lying flat I added a few stitches along the edge. I'm so pleased with how well this worked as I really wasn't sure it would. This was definitely a project that I disliked making at the time of making but love it so much now that it's finished!


I decided early on that there was no way I was going to be sewing buttonholes into this fabric. Sewing buttonholes into any knit fabric is hard but with a jersey that was this light-weight would have been nigh on impossible! The buttons are actually sewn through both layers, and the fabric is stretchy enough that I can easily put on the top without the need for buttonholes. I left one button at the top sewn into only the left side to make it look more genuine. I'm so happy with how this method work, I think I'll defintiely do it again! The buttons that I used I believe were taken off of an old shirt that belonged to my Dad, the matching set was perfect for this project. I really like the look of lots of small buttons along the front of this top. 


When it came to the hem I was once again worried about the weight of the fabric as sewing a normal hem would have probably resulted in it turning up constantly. Again, this was an easy solve and I sewed a lettuce hem along the sleeves and hem. Not only does it mean that the hem will stay in place, I also really like the look of it. A double-win!


A final detail that I added was this snippet of orange that I added in the back. I love adding labels to my makes and this stunning cotton cord that my Mum bought from Petit Pan was just perfect. The orange adds such a lovely splash of colour and it makes me smile every time I put this top on.


Being able to re-create a top and draft your own design is, in my opinion, something really special. I love the style of this top but I also love the fabric that I drafted it. I know it is going to get a lot of wear!

Wednesday, 23 January 2019

Black and White Stripy Top


Whenever I see a stripy fabric the design for a stripy top immediately materialises in my head - I really do love stripes! This does, of course, mean that I have a fair few stripy tops but one of the things that I was lacking was a stripy top that could be worn as a jumper. In other words, a top for winter that could be worn with a t-shirt underneath. The criteria that I had in my mind meant that the fabric would also have to be of a heavier weight, meaning that this stripe ponte roma fabric was absolutely perfect.


I wanted to create a top which was cropped and boxy, in my opinion the perfect style for a cozy but nice top. One of the things I love about this design with this particular fabric are the dropped shoulders; the stripes mean that at the top of the sleeves the stripes appear to be vertical at the top and horizontal at the bottom. The dropped shoulder also means that the sleeves are quite roomy giving the top the boxy look and allowing for a t-shirt to easily be worn underneath. I drafted this top using a jumper borrowed from my friend and was amazed to see how similar the Tilly and the Buttons Nora top was to this top when it was released a couple of weeks later. It's a pattern that I probably would have bought had I not already drafted a similar one myself as I really like the style of it. I used the same self-drafted pattern for this top and the one that I made a few of months ago and I'm always surprised at how different the same pattern can look made in two different fabrics, in this case a heavier weighted ponte roma compared to a lightweight jersey.


I did make a couple of very small changes to the design of this top compared to the other although they are pretty much the same. The first change is the rather minute detail of creating a split-hem of even length at the front and back rather than a high-low hem. To be honest the main reason I did this was because I was worried that the front would be too short it I turned it up but any more and I'm glad I didn't as I like the length as it is. A split-hem is one of my favourite details and I think that it's particularly good on a boxy top as it creates a bit of definition.
The other change I made was to lengthen the sleeves. Although the sleeves on my previous top are by no means short I like to wear a long sleeve top underneath and didn't want it to show. Also, having extra long sleeves make the top really cosy. One of the nice things about making a pattern more than once (especially if it's a self-drafted one) is being able to adapt and tweak the pattern after appreciating the previous mistakes.


I really wasn't thrilled with the neck of this top once I finished it but it's something that has grown on me the more I've worn it. I love turtlenecks in winter but for some reason didn't like this one. I don't know if it's do do with the stiffness of the fabric or the shape of it but I was very close to unpicking it and sewing on a neckband. However, I decided to keep it on and wear it for a bit and as I said it's definitely grown on me. I still don't love the neck but I do love the top as a whole so I think I'm going to keep it this way.

Thursday, 17 January 2019

Backstitch


Photo credit: Backstitch
I've been somewhat falling behind in sharing the wonderful fabric shops that I've been able to visit so what better way to pick up than to talk about Backstitch! I visited this shop on a trip to Cambridge in November and it is every bit as lovely as it seems. The fabric shop is also surrounded by lots of other lovely independent shops so it's a great place to visit even with people who are reluctant to traipse around yet more fabric shops - in my case I often drag my sister along with me much to her annoyance! Although many independent fabric shops all stock fabrics by popular designers such as Atelier Brunette etc I love discovering fabrics that I haven't seen elsewhere and every shop has something unique. I'm always on the hunt for jersey fabrics in particular as good quality jersey is hard to find.


I only actually bought one fabric while I was in the shop despite being tempted by many others! I actually almost didn't buy this one either but was persuaded to do so by my Mum and I'm so glad I bought it. I bought this absolutely gorgeous grey knit fabric with a pair of jogging trousers in mind. As you can see from the finished trousers the fabric was perfect. It's a lovely colour and is really soft inside.


I actually then ordered another fabric from Backstitch online to make my Mum a Linden top for Christmas. We had both admired this fabric when we visited the shop so it was nice to have an excuse to go back and buy it! It's a ponte roma which is showing up quite red in the photo but it's true colour is a gorgeous burnt orange. Backstitch stock this ponte roma fabric in quite a few different colours so I expect that I'll be sewing with it again in the future...