Tuesday 29 January 2019

Jersey shirt


I'm so excited to write about this top because I just love it! This was an idea that formed in my head but I had no idea if it would work or not so I am so pleased that it did. This top was another creation inspired by a top that I saw on the high street. I then drafted a pattern to re-create it and I'll admit that there were a lot of incredibly frustrating parts to this project as always with a self-drafted pattern, however I'm really pleased I resisted the temptation to give up on it because the end result is just what I was hoping for.


I love being able to recreate items of clothing that I see and drafting my own patterns is definitely something that I enjoy and that I'd like to continue doing in 2019. The top that I was inspired by for this project was this one. I really liked the idea of making a shirt out of jersey, definitely not the kind of fabric usually used for a shirt. I recieved this lovely cotton jersey from Craft Cotton Co and the shirt just seemed like the perfect thing to make out of it! The fabric was much more light weight than I was anticipating which meant that I wasn't able to make what I had initially planned, however it is perfect for making t-shirts in. It's a lovely shade of grey too.


When it came to drafting the pattern, it definitely wasn't easy! The collar in particular was really difficult as I wasn't sure how deep the curve should be. After making the collar I did nearly give up: it wasn't at all wide enough to go around the neck of my dress-form and it just wasn't lying flat. In the end, I actually rolled the collar to the inside about a cm and pinned it down to see if it would work; and it did! To keep the collar lying flat I added a few stitches along the edge. I'm so pleased with how well this worked as I really wasn't sure it would. This was definitely a project that I disliked making at the time of making but love it so much now that it's finished!


I decided early on that there was no way I was going to be sewing buttonholes into this fabric. Sewing buttonholes into any knit fabric is hard but with a jersey that was this light-weight would have been nigh on impossible! The buttons are actually sewn through both layers, and the fabric is stretchy enough that I can easily put on the top without the need for buttonholes. I left one button at the top sewn into only the left side to make it look more genuine. I'm so happy with how this method work, I think I'll defintiely do it again! The buttons that I used I believe were taken off of an old shirt that belonged to my Dad, the matching set was perfect for this project. I really like the look of lots of small buttons along the front of this top. 


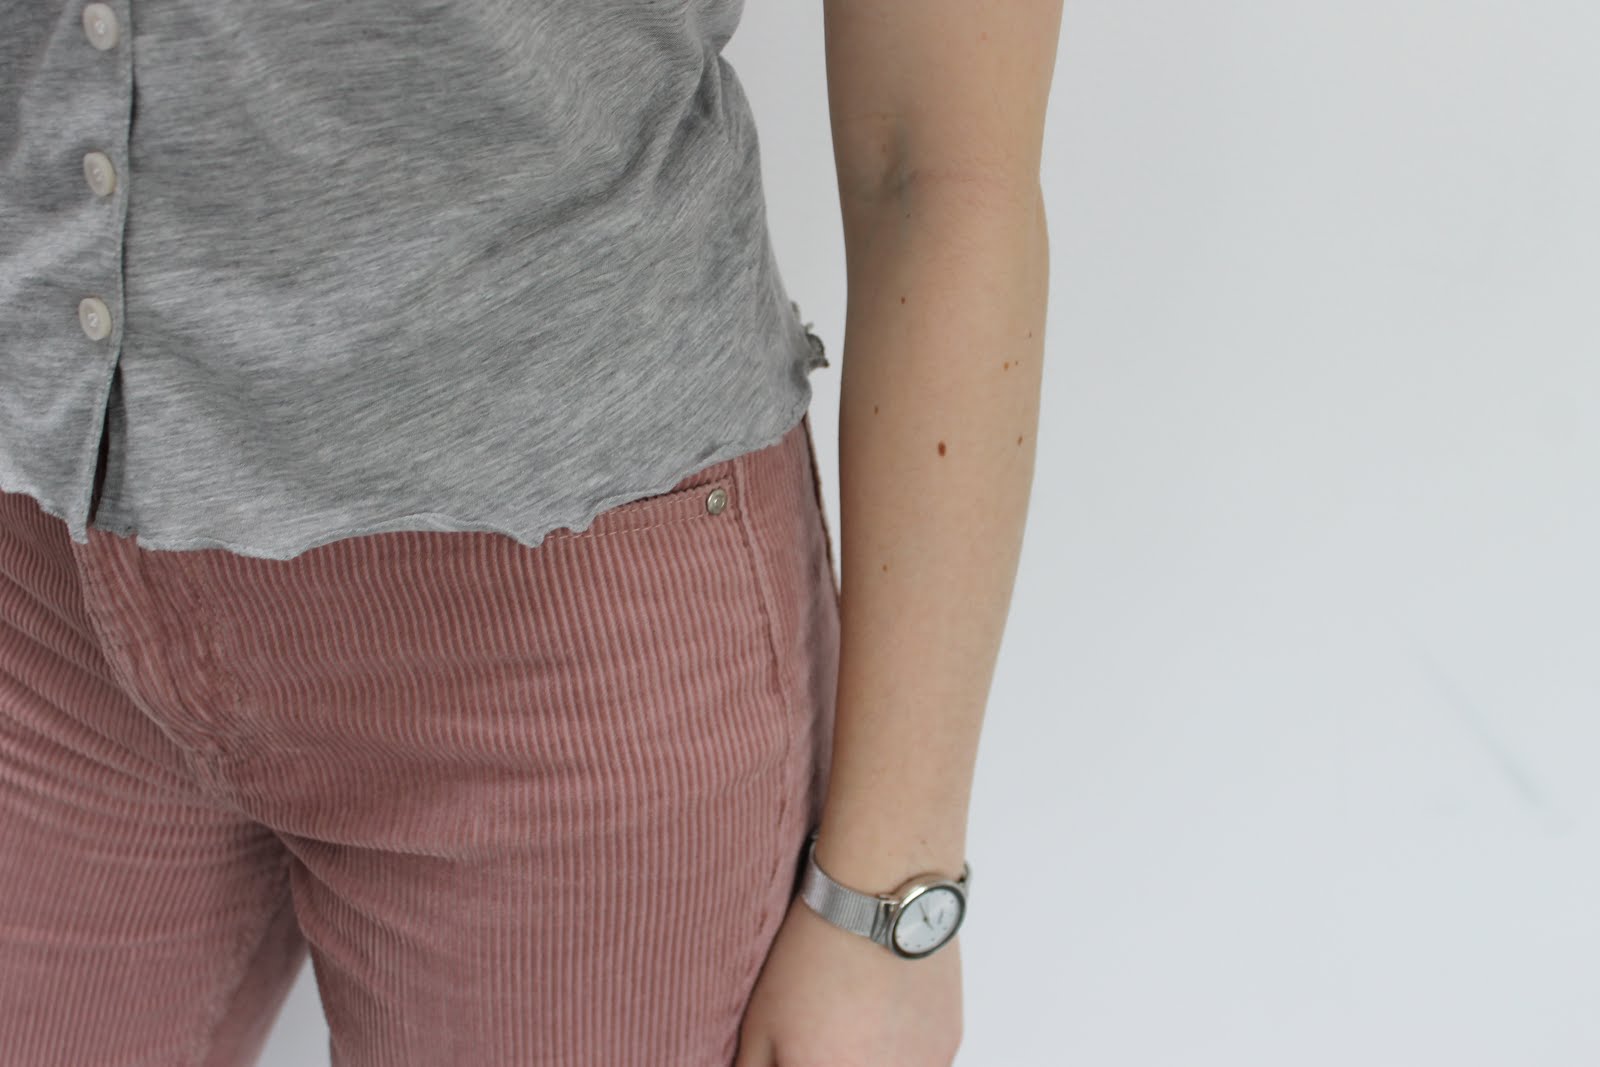
When it came to the hem I was once again worried about the weight of the fabric as sewing a normal hem would have probably resulted in it turning up constantly. Again, this was an easy solve and I sewed a lettuce hem along the sleeves and hem. Not only does it mean that the hem will stay in place, I also really like the look of it. A double-win!


A final detail that I added was this snippet of orange that I added in the back. I love adding labels to my makes and this stunning cotton cord that my Mum bought from Petit Pan was just perfect. The orange adds such a lovely splash of colour and it makes me smile every time I put this top on.


Being able to re-create a top and draft your own design is, in my opinion, something really special. I love the style of this top but I also love the fabric that I drafted it. I know it is going to get a lot of wear!

Wednesday 23 January 2019

Black and White Stripy Top


Whenever I see a stripy fabric the design for a stripy top immediately materialises in my head - I really do love stripes! This does, of course, mean that I have a fair few stripy tops but one of the things that I was lacking was a stripy top that could be worn as a jumper. In other words, a top for winter that could be worn with a t-shirt underneath. The criteria that I had in my mind meant that the fabric would also have to be of a heavier weight, meaning that this stripe ponte roma fabric was absolutely perfect.


I wanted to create a top which was cropped and boxy, in my opinion the perfect style for a cozy but nice top. One of the things I love about this design with this particular fabric are the dropped shoulders; the stripes mean that at the top of the sleeves the stripes appear to be vertical at the top and horizontal at the bottom. The dropped shoulder also means that the sleeves are quite roomy giving the top the boxy look and allowing for a t-shirt to easily be worn underneath. I drafted this top using a jumper borrowed from my friend and was amazed to see how similar the Tilly and the Buttons Nora top was to this top when it was released a couple of weeks later. It's a pattern that I probably would have bought had I not already drafted a similar one myself as I really like the style of it. I used the same self-drafted pattern for this top and the one that I made a few of months ago and I'm always surprised at how different the same pattern can look made in two different fabrics, in this case a heavier weighted ponte roma compared to a lightweight jersey.


I did make a couple of very small changes to the design of this top compared to the other although they are pretty much the same. The first change is the rather minute detail of creating a split-hem of even length at the front and back rather than a high-low hem. To be honest the main reason I did this was because I was worried that the front would be too short it I turned it up but any more and I'm glad I didn't as I like the length as it is. A split-hem is one of my favourite details and I think that it's particularly good on a boxy top as it creates a bit of definition.
The other change I made was to lengthen the sleeves. Although the sleeves on my previous top are by no means short I like to wear a long sleeve top underneath and didn't want it to show. Also, having extra long sleeves make the top really cosy. One of the nice things about making a pattern more than once (especially if it's a self-drafted one) is being able to adapt and tweak the pattern after appreciating the previous mistakes.


I really wasn't thrilled with the neck of this top once I finished it but it's something that has grown on me the more I've worn it. I love turtlenecks in winter but for some reason didn't like this one. I don't know if it's do do with the stiffness of the fabric or the shape of it but I was very close to unpicking it and sewing on a neckband. However, I decided to keep it on and wear it for a bit and as I said it's definitely grown on me. I still don't love the neck but I do love the top as a whole so I think I'm going to keep it this way.

Thursday 17 January 2019

Backstitch


Photo credit: Backstitch
I've been somewhat falling behind in sharing the wonderful fabric shops that I've been able to visit so what better way to pick up than to talk about Backstitch! I visited this shop on a trip to Cambridge in November and it is every bit as lovely as it seems. The fabric shop is also surrounded by lots of other lovely independent shops so it's a great place to visit even with people who are reluctant to traipse around yet more fabric shops - in my case I often drag my sister along with me much to her annoyance! Although many independent fabric shops all stock fabrics by popular designers such as Atelier Brunette etc I love discovering fabrics that I haven't seen elsewhere and every shop has something unique. I'm always on the hunt for jersey fabrics in particular as good quality jersey is hard to find.


I only actually bought one fabric while I was in the shop despite being tempted by many others! I actually almost didn't buy this one either but was persuaded to do so by my Mum and I'm so glad I bought it. I bought this absolutely gorgeous grey knit fabric with a pair of jogging trousers in mind. As you can see from the finished trousers the fabric was perfect. It's a lovely colour and is really soft inside.


I actually then ordered another fabric from Backstitch online to make my Mum a Linden top for Christmas. We had both admired this fabric when we visited the shop so it was nice to have an excuse to go back and buy it! It's a ponte roma which is showing up quite red in the photo but it's true colour is a gorgeous burnt orange. Backstitch stock this ponte roma fabric in quite a few different colours so I expect that I'll be sewing with it again in the future...

Friday 11 January 2019

A Grey Linden for my Mum


The Grainline Studio Linden sweatshirt has to be one of the easiest and speediest garments to sew; and, judging by the sheer number of Lindens that I've made, one of the most enjoyable garments to make too. There's nothing better than an instantly successful make and the Linden is just that. It's turned into a go-to pattern not just for me but also for my Mum.


It's good to have an idea of how much fabric you need when in a fabric shop and I now know how much I need to be able to make a Linden for my Mum meaning that when she spotted this lovely grey jersey fabric in Sew Over It the decision to make a Linden from it was practically already made!  The fabric is a lovely quality and perfect for the top although in hindsight my Mum did say that she finds it slightly dull. Ironically, although our trip to Sew Over It was at my request it was actually my Mum who came away with some fabric. I love sewing clothes for her so was perfectly happy to make another Linden.


At the time of purchase on a swelteringly hot day in late July the idea of wearing a heavy jersey fabric seemed unimaginable and as you can imagine the fabric was stashed away for several months. Of course, the weather for the fabric soon arrived though and so I set to work making it. I love looking at the contrast between the first Linden that I made my Mum and this one. Although the most obvious difference is that this one has been overlocked there are also differences in terms of equal neckband width and topstitching straightness and its nice to see how my sewing has improved. There isn't much else to say about this top and while it may not be the most exciting of projects it's a wardrobe staple that already has and hopefully will continue to receive a lot of wear.

Saturday 5 January 2019

Activewear Top


I recently had the opportunity to sew with activewear jersey, something I've never done before and a fabric that I was excited to try out! The fabric in question is this one from Minerva Crafts. I wasn't sure what to expect when the fabric arrived but it was perfect! I chose the blue colour way and it's such lovely colour. For my first venture into sewing activewear I decided to stick to a simple pattern as I wasn't sure what the fabric would be like to sew with. I also wanted to make something for my Dad and use the opportunity to get a head start on some Christmas sewing! 


The pattern I used really could not have been easier and I would highly recommend it for both a first jersey/activewear project and also a good pattern to use if you're sewing for someone else. It's the Oliver + S men's metro t-shirt which I've made once before but as a jumper. Whenever I use the same pattern several times I'm always amazed at how different each version looks, it's amazing how a different fabric or sleeve length can change the look of a garment completely! The other benefit to re-using this pattern is that I know it fits my Dad well, I find that when sewing for others especially it's best to find a couple of patterns that they like and that fit them well. This means that you can sew them multifple times without having to worry about fitting issues each time.


Despite being initially nervous about sewing with activewear jersey I was surprised and also pleased at how easy it was to sew, certainly no different to sewing regular jersey and much easier than sewing with a really stretchy jersey. I'm sure stretchier activewear fabrics exist but I found that this one was the perfect balance between being stretchy enough to work for activewear but not so stretchy that it was difficult to sew. The main difference is the feel of this fabric and it did feel quite strange to sew with at first as it isn't a texture I'm used to sewing with. The only difficulty was cutting the fabric as it tended to be quite slippy but again this wasn't really something that bothered me or something that couldn't be solved with a vast number of pins! 

I'm so pleased with this make. It was really fun to be able to experiment with a completely different type of fabric. My Dad was really pleased and hopefully he will get lots of wear out of it. Seeing as he has worn the jumper I made him last year quite a bit I'm sure this make will get quite a bit of wear too. I loved sewing this up on my overlocker (it was so fast!) and I also really like the contrast of the overlocking stitches on the inside. The only change I made to the pattern to switch it to activewear was to leave the neckline un-topsitched. I usually topsitch all of my neckbands but seeing as this top will be moved in more than normal tops I decided to leave the neckline unstitched as I expect the stitching would break. One of the joys of overlocking is how stretchy the stitching is, perfect for activewear!